8.21.2011

Cherry Culture NYX and Milani Haul; Update with lip cream and gloss swatches

NYX Girls Nail Polish: Dorothy, Robotic, Boho, Lapis, Golden Lavender, Fairy Dust, Alps Bunny


NYX Soft Matte Lip Cream: San Paulo, Antwerp, Milan


NYX Mega Shine Lip Gloss: Pink Rose, Nude Peach, Nude Pink


Milani Baked Powder Blush: Dolce Pink


7.22.2011

Quick update + inspired look attempt

It's been awhile since I've updated! Lots of things have been going on with my life, but work is what's mostly occupying my time. I've also been baking quite a bit and more and more people are enjoying what I bake! :D So far, I had two cupcake orders. Hopefully, this might become something in the future?

Another look I attempted today was from 2NE1's Hate You MV. Sandara is my favorite, so she was the obvious choice for this look.

Here's the video:

Since they're obviously cartoon characters, this look was a bit exaggerated. However, I guess I tried to make it kind of wearable? It's a relatively simple look with yellow eyeshadow, black eyeliner, mascara, blush, and lipstick (Still of Sandara's character)


Face
Maybelline Superstay 24HR Foundation in Classic Beige
NYX Concealer in a Jar in Beige
Milani Power Blush in Luminous

Eyes
Urban Decay Primer Potion
NYX Jumbo Eye Pencil in Milk
120 Palette Eyeshadows (matte and shimmery yellow)
Prestige Total Intensity Eyeliner in Deepest Black
Prestige My Biggest Lashes in Very Black

Lips
NYX Round Lipstick in Tea Rose

5.08.2011

Happy Mother's Day!

Sorry for the lack of updates. I've started working and have been pretty busy for the last three weeks. With my new job and everything, my sleep cycle has changed really dramatically. After I graduated, I would go to sleep as late at 3 or 4am every night/morning and wake up sometime in the afternoon. Now... I sleep around 10pm and wake up around 5am. XD It's quite a change, but I actually kind of like it? Because of it, I was able to wake up early enough to make muffins for my mom for breakfast.

I adapted the recipe from Joy of Baking using the blueberry muffin recipe and adding some strawberries we had in the fridge.


I'm obviously not the best when it comes to filling each cup perfectly... XD

...and I think i could've left them in the oven longer to get more of that golden brown color. Eh... maybe next time :D

4.16.2011

NYX Round Lipstick Haul + Swatches

I seriously have some sort of lipstick obsession or something XD

Here's my NYX order from eBay seller isync:

Snow White

Doll

Circe

Black Cherry

Indian Pink

Swatches (Top to bottom: Snow White, Doll, Circe, Black Cherry, Indian Pink)

I think this eBay seller has their own website call Pork Daisy.

4.13.2011

Wet n Wild Haul + Mega Last Lipstick swatches

Since Rite Aid is currently having a 40% off of all Wet n Wild cosmetics, I decided to pick up a few things: 4 Mega Last Lipsticks (in Pink Suga', Just Peachy, Coral-ine, and Stoplight Red), Mega Last Nail Color in Morbid, and a Color Icon Lipliner in Brandywine. The lipsticks are normally $2.99 each, the nail polish is normally $1.99, and the eyeliner is normally $0.99. With the discount, it all came out to be a little under $9 :D

Here's everything


235 Morbid is kind of hard to describe. To me, it looks like a black nail polish with a greenish blue sheen/micro glitter


911D Stoplight Red is a BRIGHT red color

903C Just Peachy is more pink on my lips than it looks in the picture

909D Coral-ine is a pretty bright coral/red color

900B Pink Suga' isn't really pink at all... it's more of a nude shade

I've been hearing raves about this on MakeupAlley, so I guess it wouldn't hurt to try it.

Top to bottom: Stoplight Red, Coral-ine, Just Peachy, Pink Suga'

4.10.2011

Happy Birthday to me

So today's my birthday and I made myself a green tea chiffon cake. :D

Recipe from here

Instead of using the recommended 8 inch pan... all we had was a larger 10 inch pan, so it looks kind of flat. XD


We liked it so much! The cake is almost gone!

I just wanted to do a quick update. I'll be writing more soon when I have the chance!

3.26.2011

First time Macarons!

Two days ago, I made macarons for the first time!! I think they came out pretty good, but there's always room for improvement.

I adapted the recipe from My Food Geek's Almost Foolproof Macaron recipe.

First, I weighed out all of the ingredients. 

Since I was making salted caramel macarons, I made the filling first: the salted caramel buttercream :D Mmmmm... yummy caramel...

After the caramel cooled, I transferred the caramel into another bowl, added the pieces of butter, and whipped them with a hand mixer

Next, I mixed the freshly ground almond meal, powdered sugar, and the first container of aged egg whites together in a bowl with some food coloring to get a caramel-like color for the shells (sorry! I forgot to take a picture of that). Then I started to whip the other container of egg whites. As they were whipping, I made the sugar syrup. When the syrup reached to about 240 °F and the whites had formed soft peaks, I slowly added the syrup to the beating egg whites. I probably should've added it a bit slower... hence all of the syrup sticking to the side of the bowl... X_X

Stop beating the egg whites and sugar syrup mixture once it starts to cool down. It look nice and marshmallow-y... and be really tasty! :D

Then, take all of the meringue out and mix it with the almond paste mixture.

Next, pipe the macaron shells on baking sheets with a regular round tip. Each shell should be about 3cm in diameter. I found a template online... just to make things more uniform and easier. :D 
Note: make sure to let these rest. I had them rest for almost an hour.

In a 320 °F oven, bake each batch one at a time for about 15 minutes... then.... VOILA!

Take the caramel buttercream out of the fridge, add the salt, and whip until combined. Put the buttercream in a piping bag and start filling the shells!

Overall, they came out better than expected. I read so many comments on other blogs about how some people couldn't get the feet to form, meringues falling flat, and shell cracking, which lead me to be super cautious. I guess it paid off!! I can't wait to make these again!

3.23.2011

Review: Trader Joe's Spa Gentle Cleanser and Regenerating Face Lotion

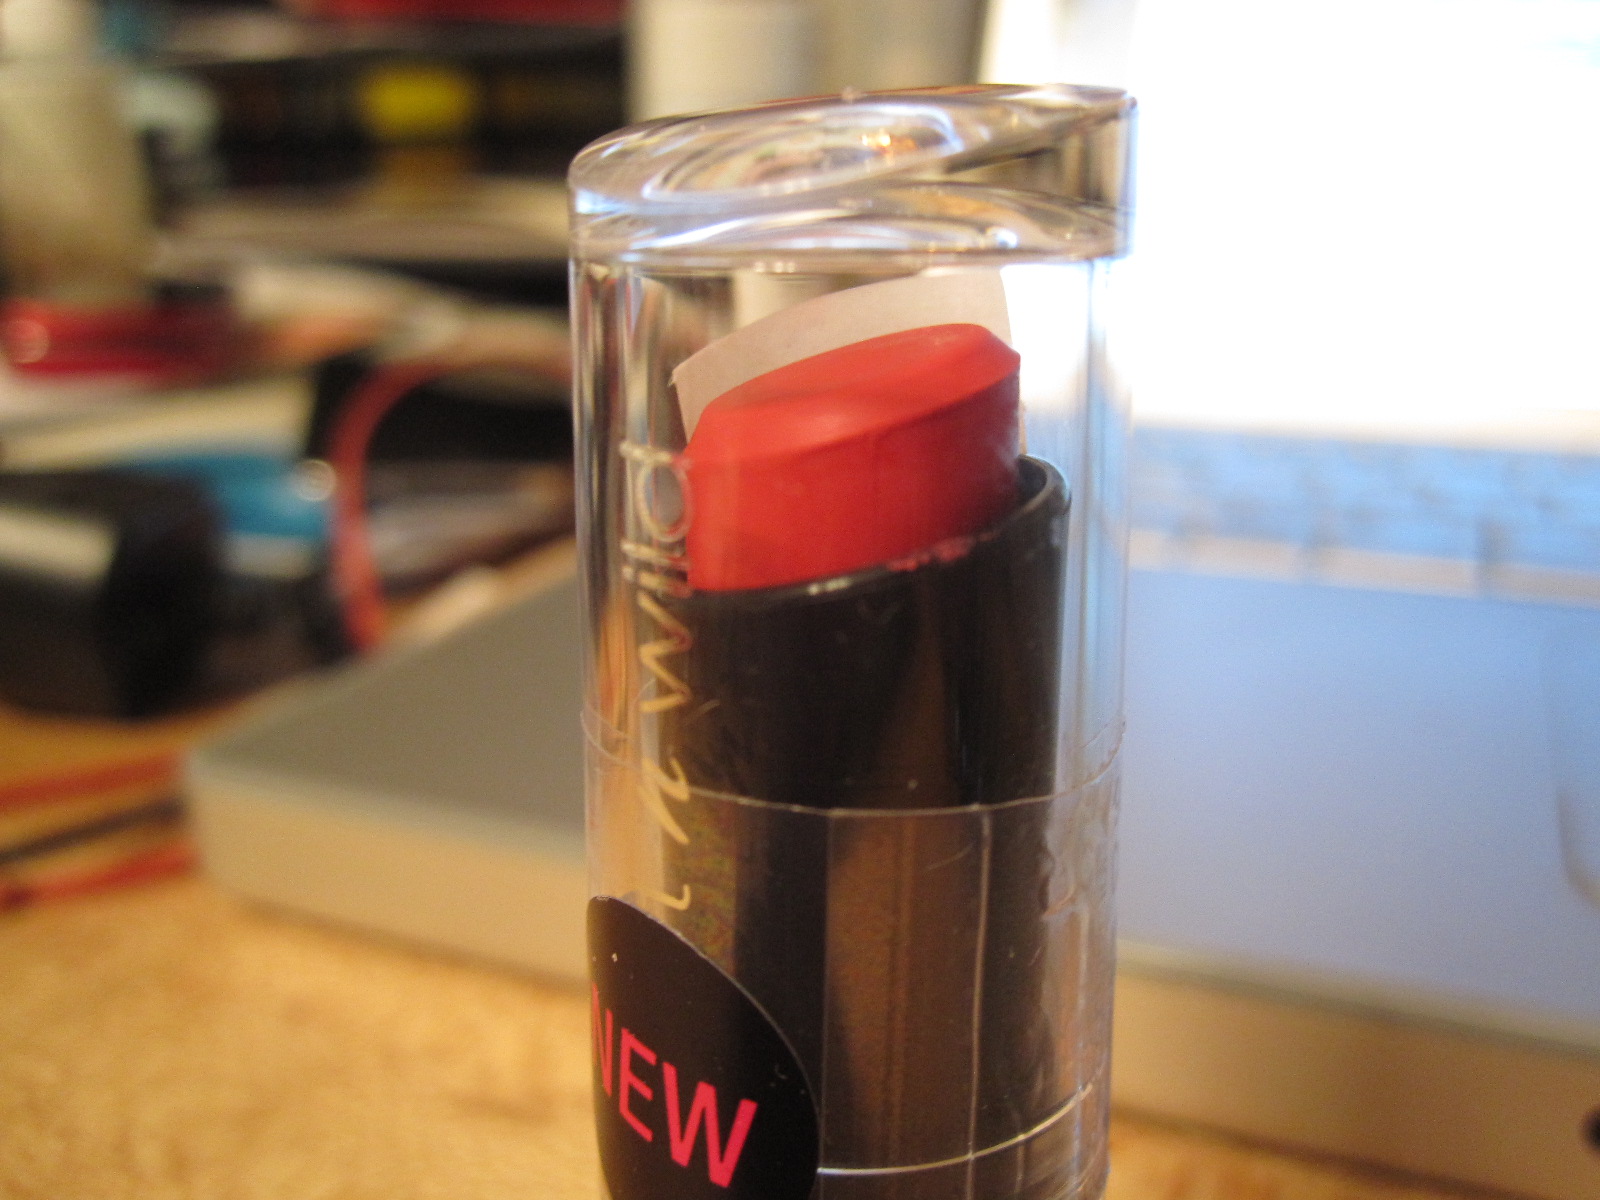
I went to Trader Joe's about a week ago and saw these two products in the cleaning/skincare/non-food aisle.


The cleanser claims that it "Combines the antioxidant benefits of vitamin C & E and orange fruit extract" and says that "Vitamin C, vitamin E, orange extract make this cleanser gentle yet powerful, as refreshing and rejuvenating as a day at the spa. It gently cleans all skin types, removing makeup and surface oil without drying out your skin." The cleanser that I've been using, the St. Ives Green Tea Cleanser, started drying out my skin, so I figured I wanted to try something else.

The lotion claims that it "Combines the antioxidant Ester C, a collagen-stimulating and cell renewing formula. May help reverse sun damage and reduce appearance of fine lines" and says that "Vitamin C make this lotion gentle, yet powerful, as refreshing and rejuvenating as a a day at the spa. It's a lean, light lotion that will leave your skin feeling smooth and refined, day or night". I really don't have a problem with sun damage or fine lines, but I figured that it would be good to pair the cleanser and the lotion for optimal benefits (I know it's not true all the time, but... it gave me an excuse to try something new).

They were both $2.99, so I thought, "Heck, why not try them?" My skin was in pretty bad condition at the time... probably related to stress and diet issues. So I brought both the cleanser and the lotion and it ended up being less than $7 including tax.

First Impression
My first impression of the cleanser was that it had a faint orange smell, which was nice and pleasant. The cleanser has a gel consistency that doesn't really create a whole lot of lather when mixed with water (the St. Ives lathered up quite a bit). It wasn't really that alarming since the main thing I wanted this to do was clean my skin without drying it. And guess what? It did just that. My face felt really soft and clean. The real test would be whether or not this soft and clean feeling would last. The St. Ives cleanser would make my face feel clean and soft at first, but then my skin would become tight and dry, which is a no no for my oily skin.
Tight and dry = excess oil production = oilier skin X_X

My first impression of the lotion wasn't as favorable. When I pumped the lotion onto my hand, the first thing I thought was that the scent was VERY strong with a tropical, floral, citrus, coconut sort of smell. It's hard to describe. Regardless it was STRONG. I used it after I cleansed and toned my face. Initially, it feels really good on the skin. But after an hour, it made my face feel oily, which is not something I want my skin to feel after I applied a moisturizer.

Recommend?
Of the two products, I would recommend the cleanser. I've been using it for about a week now. No breakouts and it still performs as it did the first time I used it. As for the lotion, I use it on my body at night so the scent is no where near my nose. It's still strong, but it's not as bad when it's farther from your nose.

2.28.2011

Amuro Namie Inspired Look

I was watching Amuro Namie's latest music video with the Korean girl group After School. I really like the simple look with subtle smokey eyes and smudgy and slightly winged eye liner.


Here's a slightly more detailed view some of the colors used on her lids.


I think my look is a slightly toned down version of her look. This is my first "inspired" makeup look I've done and I'm pleased with the results. I could've probably executed it better... so maybe I'll try this one again another time.


Face
Sana Pore Putty in Clear
Maybelline Superstay 24HR Foundation in Classic Beige
NYX Concealer in a Jar in Beige
Maybelline Dream Matte Powder in 2-2.5
Revlon Matte Eyeshadow in Vintage Lace (as a highlight)
NYX Bush in Taupe (as a contour)
Milani Powder Blush in Luminous

Eyes
120 Eyeshadow Palette (shimmery light gold, shimmery light/medium brown, shimmery charcoal, matte black)
NYX Jumbo Pencil in Black Bean
Prestige My Biggest Lashes in Black

Lips
Lancome Juicy Tubes Smoothie Lipgloss in Hallucination


2.26.2011

Baking up some lovely scones!

Yesterday, I baked some strawberry scones since I had some strawberries that I needed to use up. I got the recipe from a blog called Confessions of a Tart. I followed the recipe as close as I could, but  I didn't have cream or buttermilk on hand, so I used whatever milk I had in the fridge. I also added a little bit more strawberries since I needed to use them up. The result? It tasted pretty good, but it could've used the extra fat from cream or richness from buttermilk and just a little more sugar. Overall, it's a very good and easy recipe.

Here's the recipe from Confessions of a Tart:

Strawberry Scones
(makes 6 large scones or 12 minis)


1 cup strawberries (or other fruit)
3 tablespoons sugar (granulated)
2 cups all-purpose flour
2 teaspoons baking powder
1/4 teaspoon salt
6 tablespoons butter, in cubes, slightly softened
2/3 cup half-and-half or cream or cold buttermilk


Topping:
1 tablespoon sugar


Preheat oven to 400 degrees. Lightly grease a cookie sheet.


If using larger fruit, cut into bite-sized pieces. Sprinkle fruit with 1/2 tablespoon sugar; set aside. Be sure to make the pieces small, or they tend to fall out of the dough. They'll still be plenty prominent in your finished scones.


Combine remaining sugar with flour, baking powder and salt. Add butter, using a pastry cutter or 2 knives to cut in butter (you may want to use your fingers to be sure butter is evenly mixed into flour). Stir in fruit; then add cream/half-and-half/buttermilk all at once. Use spatula to gently stir dough until it holds together.


Turn onto a lightly floured surface and knead a few times to incorporate dry ingredients. Be gentle so you don't break up the berries and don't overwork the dough. Sprinkle dough with flour if it gets sticky.


Press (pat) the dough into a circle 3/4 inch thick. If any berries peek out, push them into dough. Cut circle into 6-8 wedges, then transfer wedges to the cookie sheet, leaving at least 1/2 inch of space between them. Bake 15 minutes.


Sprinkle with sugar and bake 5-10 more minutes or until the tops are beginning to brown and spring back when you push them (this took another 15-20 minutes in my oven, but keep a careful watch and check every 5 minutes - you do not want dry scones!). (The sprinkling of sugar over the top for the last few minutes of baking creates a simple, sparkly topping.)


I think the next time I attempt these, I'll follow it more closely plus add a little bit more sugar.